
Team nomination forms can be published for collecting team entries from seasonal/amateur clubs/teams using the Member Sign up process.
Technically, the process is exactly the same as setting up the Member Sign up form, however, team lodgement/team renewal type will be mandatory.
Configuration
Step 1 - Create new membership products
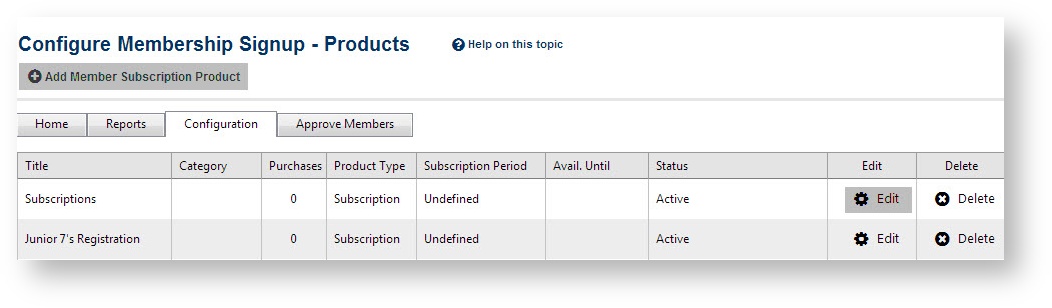
- Click to Add Member Subscription Product or Edit existing products.
- The following Membership Signup Form - Edit Product screen will display.
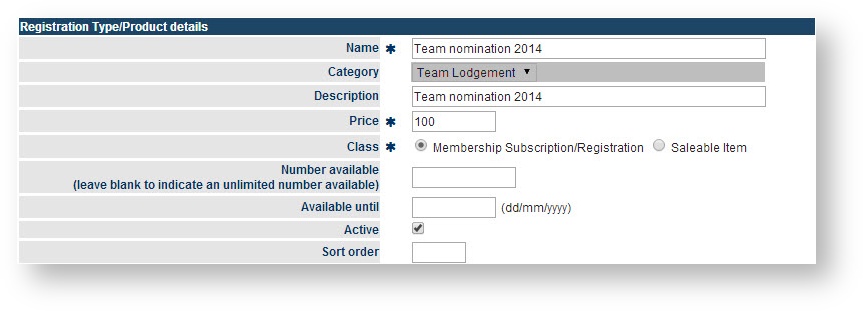
- Enter or change the information as follows:
Registration Type/Product Details | This section will control various aspects of products you publish online. These products will be available for participant registration. |
|---|---|
|
|
| Name* | Will display as a dropdown list for prospective participant to select. Should be short & unique. |
| Category | This helps to group products into four main sections for management purposes.
|
Description | This is a longer description of the product, and will display underneath the product name on a signup form. |
Price * | Price of the product (must be inclusive of any tax specified). Enter prices in the same currency set up on your membership form. Changing the price after any products have been sold do not affect these previous sales. |
Class * | Select a product class from one of two main types:
|
Number available | If you wish to track inventory for this product, enter the number of this type of product you currently have available. The system will decrease this number automatically as items are sold, and when the number reaches zero, the product will no longer be able to be selected on a membership form. You can change this number at any time (e.g. as more stock arrives). Leave the field blank if you have unlimited items or do not wish to track inventory. The available numbers will be displayed on the client's screen when they register. |
Available until | If you wish to have a cut-off date for sale of this product, enter the date here. The product will no longer be able to be selected on a membership form after this date. Leave the date blank if you do not wish to have a cut-off date. |
Active | Check the box to make the product active. Any products made inactive will not be able to be selected on a membership form (even if the form has previously been set up to include them). |
Subscription settings |
|
Start/End date | These dates are for indicating the opening and expiry of registration period. Participant cannot lodge in a product beyond the Start and End date. |
Person Role * | A product must be linked to a person role. This means for new signups, the role is automatically created within the system for their person record. For example, a 'senior player' subscription can be linked to the 'PLAYER:SENIOR' role. |
| Registration settings |  |
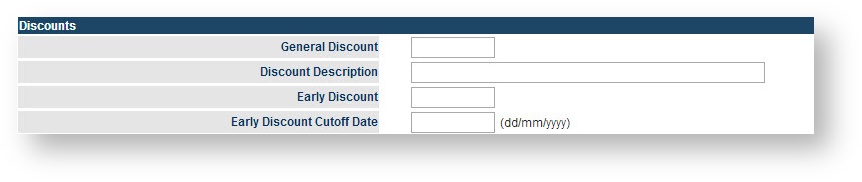
Discount fields |
|
General discount | Enter a discount amount in the relevant currency. This amount will display as a discount and be deducted from the total. |
Early discount | Enter a discount amount in the relevant currency. This amount will display as a discount and be deducted from the total up until the date entered in the Early Discount Cutoff Date field. |

To save your changes, click the Update button.
*Required field.
Step 2 - Create a member signup form
- Click on Add new Online registration form.
- The Edit Online Registration Form screen will display.
- Enter or change information as follows:
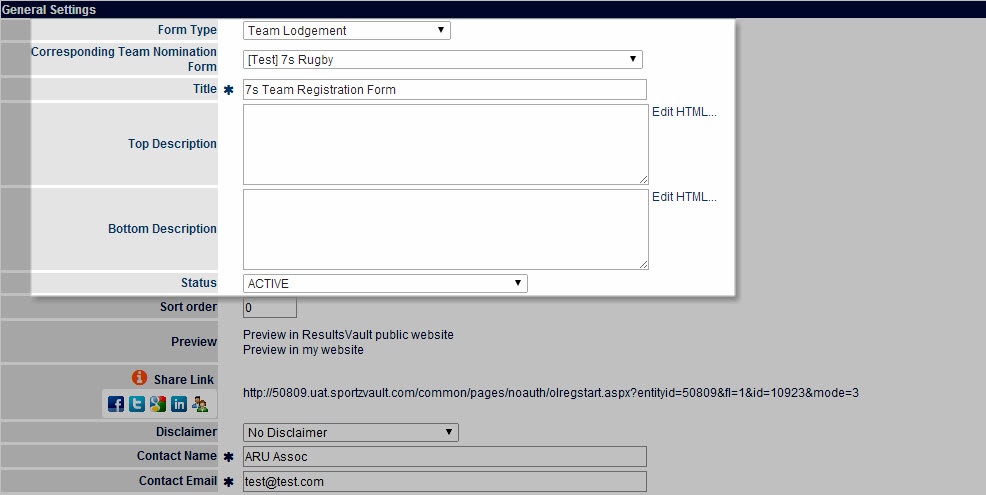
General Settings |
|
|---|---|
| Form Type | Choose Team Lodgement type out of 3 available options:
Team Lodgement and Team Renewal type will enable you to connect the form with corresponding Team nomination forms. |
| Corresponding Team Nomination Form | Select the appropriate team nomination forms you want the new participant lodgement to fall under. This is the only item that differentiates the Team nomination - participant from normal member signup configuration. |
Title * | This displays at the top of the public form (that is the form that is accessed by the user/visitor/member) just underneath the name of the current organisation. |
Top Description | Enter a HTML description that will appear on the product selection page, at the top (just under the title). Click the Edit HTML link to launch a HTML Editor. |
Bottom Description | Enter a HTML description that will appear on the product selection page, at the bottom (under the product selection area). Click the Edit HTML link to launch a HTML Editor. |
Status |
|
Sort Order |
|
| Preview | Membership signup forms can be accessed either via the ResultsVault public site, or via a SportzVault web site. The links have an embedded parameter that allows the forms to be displayed, even if they are not in the ACTIVE status (i.e. TEST MODE). Use the SHARE LINK functionality to copy or share the link on other platforms. |
| Public Access URLs | Membership signup forms can be accessed either via the ResultsVault public site, or via a SportzVault web site. The links as shown here should be used to publicize your signup form - e.g. via a menu item or link from your website, or in a bulk email. The link should be supplied as displayed, without the special 'test mode' argument that is embedded in the link itself (i.e. do not include the 'misc' argument of the link otherwise others will be able to access the form for a limited time when in test mode). |
Disclaimer | If you wish a disclaimer/terms and conditions page to display as part of the signup process, select it here. If selected, the user will have to check a box to accept these conditions. |
Contact Name | Enter a contact name for this form. This can either be an actual person, or the name of an organisation. This will display in a help link at the bottom of the public form that customers can click to contact for help or further information. Any confirmation emails sent to customers also are sent from this name. |
Contact Email | Enter a contact email for this form. This address will be used in a help link at the bottom of the public form that customers can click to contact for help or further information. Any confirmation emails sent to customers also are sent from this address, and replies will come back to this address. |
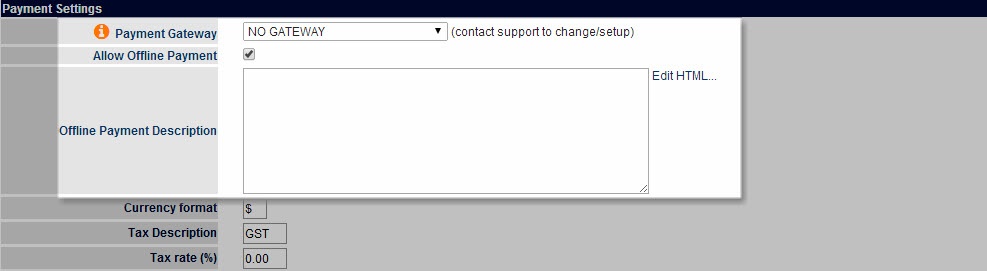
Payment Settings |
|
Payment Gateway | The payment gateway is displayed here. This can only be setup by contacting support. |
Allow Offline Payment | Check the box if you also wish to enable 'offline' payments (i.e. where a customer needs to pay after the signup via a manual method such as mailing a cheque). If offline payment is selected, the customer will have access to print a form that can be printed and submitted. |
Offline Payment Description | Enter a HTML description that will display to give the customer further information about offline payment (e.g. your address details, who to address cheques to etc). Click the Edit HTML link to launch a HTML Editor. |
Currency format | Enter the currency symbol - e.g. $. |
Tax Description | Enter a tax description if applicable - e.g. GST |
Tax rate (%) | Enter a tax rate if applicable. Note, that all product prices specified must be inclusive of any tax (i.e the system does not add tax on to these prices). The tax collected is calculated in other reports. |
Form Fields | |
Form Fields | Select the fields you wish to display on the form. You must select First Name, Last Name and Email address as a minimum. All the standard person fields and any custom fields applicable for the current organisation are available for selection. You can order the fields by clicking the Move Up and Move Down buttons. Advanced Field Properties
You still need to click the main Update button - see below. |
Registration Type/Products |
|
Products | It is possible to select any number of the products you have set up for customers to choose on the signup form.
Products can only be selected in one of the sections - i.e it is not possible to select as both a 'radio' and 'checkbox' item. |
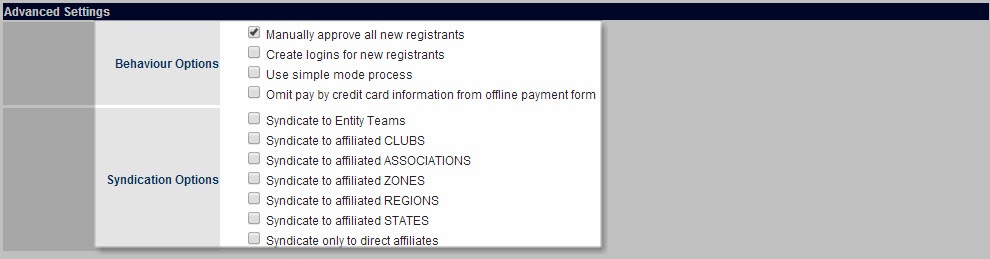
Advanced Settings |
|
Advanced settings | Behavior options Manually approve all new registrants - Choose this if you wish all new registrations pending to be manual approved. Syndication options NO need to choose any of the below options as this form is automatically connected with corresponding team nomination process and entered team label will be recorded into the system. The available options are used for regular member sign up forms. Syndicate to Entity Teams - Choose this will show dropdown list of available entity teams for registration in the online form Syndicate to affiliated CLUBS - Choose this will show dropdown list of available affiliated clubs for register in the online form |

Step 3 - Test out all settings
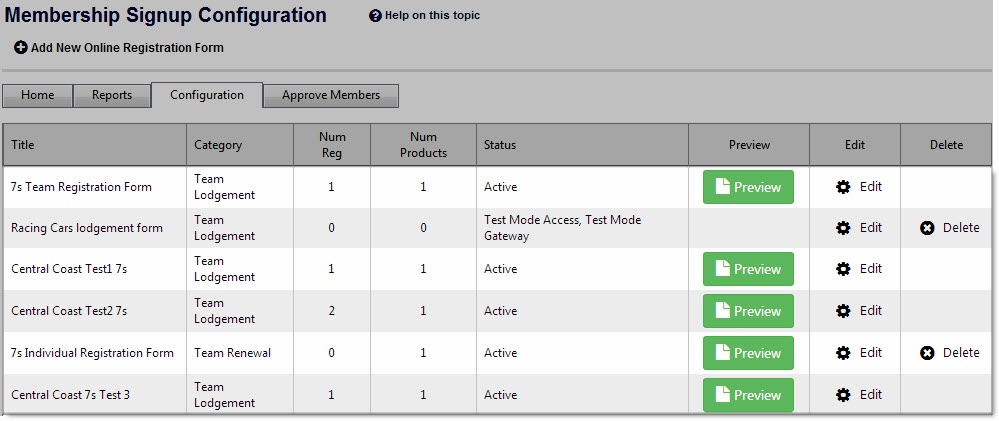
The Configuration screen enables a preview link for all properly set up forms. Click on Preview button to open the client registration screen so that you can actually register and test out whether it all works.
Below is the redirected screen when "New season team entry" is clicked upon:
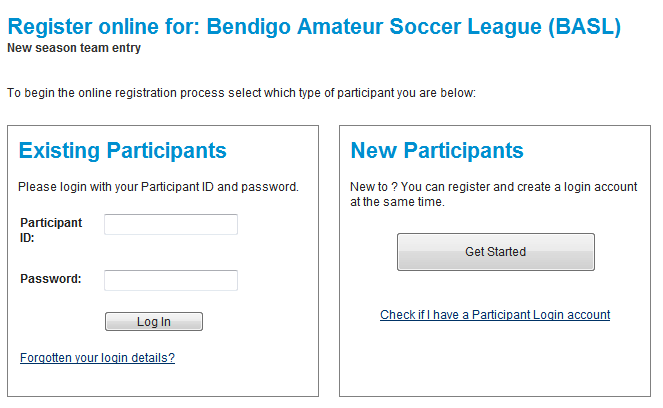
New participants can then click the Get Started button and proceed with all registrations stages.
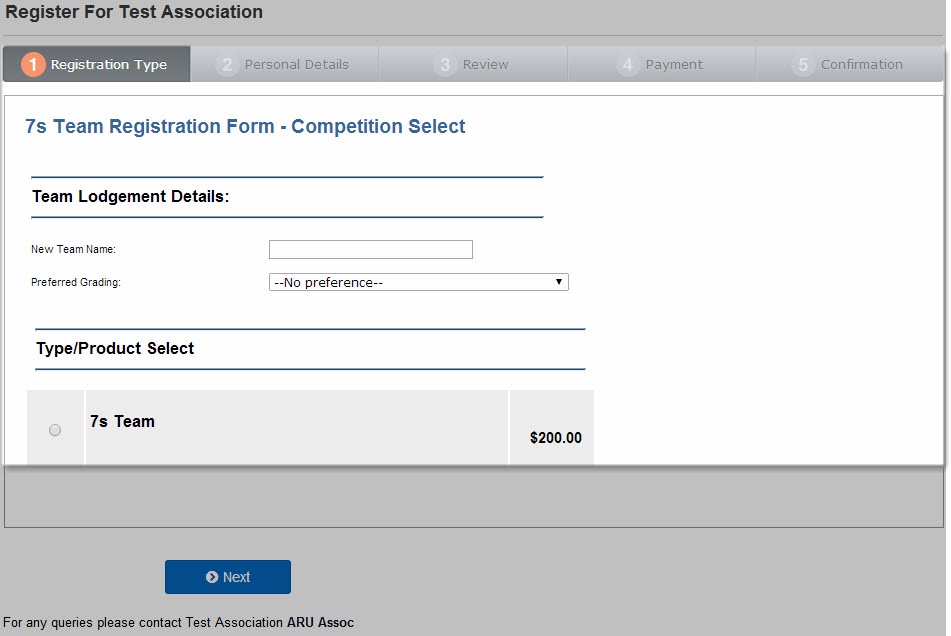
Participant is then asked for entering their nominated Team name, grading preferences (i.e. nomination categories) and Types of registrations (.ie. registration products).
This completes the Online Team Nomination setup.